Vanguard ICC Wired Setup
Question
How do I set up my single wired Vanguard camera with the Vanguard Internet Control Center software?
Answer
Software Installation
First, download and install Vanguard ICC using the link you received by e-mail.
Once this is done you are ready to install the USB Video Adapter (model VA11A). Do not connect the USB Video Adapter before installing Vanguard ICC.
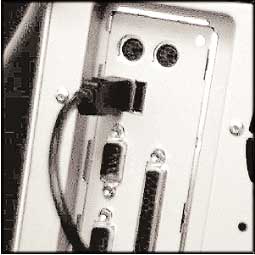
When the installation program instructs you to, plug the USB Video Adapter into a USB port on your computer:
The computer will recognize that new hardware has been installed and complete the installation. After the installation finishes, plug in the CM19A FireCracker PC Transceiver into another USB port.
Camera Installation
Set the House Code on the wireless transceiver module (model TM751), plug it into an AC outlet and extend the antenna.
Insert 4 AAA batteries into your CR15A remote. If the cameras are going to be units other than 1-4, follow the instructions that came in the remote’s box to change the scan controls.
Set up your camera. Plug the power supply into a free AC outlet. Connect the camera to the power supply. The camera should come on and you should be able to get the picture on your PC. Flip the slide switch on the bottom of the camera to Install, then push a camera selection button, then move the slide switch back to Transmit Enable. Connect the camera to the VA11A with the 100-foot RCA video cable.
