Difference between revisions of "AirSight App Features"
X10douglas (talk | contribs) |
X10douglas (talk | contribs) |
||
| Line 3: | Line 3: | ||
[[File:NewAppLogo.JPG]] | [[File:NewAppLogo.JPG]] | ||
| − | ==Live View== | + | ==CAMERA Tab== |
| + | |||
| + | ==EVENT Tab== | ||
| + | |||
| + | ==LOCALRECORD Tab== | ||
| + | |||
| + | ==ADD CAMERA Tab== | ||
| + | |||
| + | ==INFO Tab== | ||
| + | |||
| + | ===Live View=== | ||
While your phone is in vertical orientation you can access all of the features available for your camera by clicking on the small icons located along the bottom of the screen: | While your phone is in vertical orientation you can access all of the features available for your camera by clicking on the small icons located along the bottom of the screen: | ||
| Line 37: | Line 47: | ||
| − | ==Record Video== | + | ===Record Video=== |
To record live video simply tap the video camera icon to access the RECORD CONTROL menu | To record live video simply tap the video camera icon to access the RECORD CONTROL menu | ||
| Line 48: | Line 58: | ||
| − | ==Snapshots== | + | ===Snapshots=== |
To take snapshots simply tap the camera icon | To take snapshots simply tap the camera icon | ||
| Line 59: | Line 69: | ||
| − | ==Listen and Talk with Two-Way Audio== | + | ===Listen and Talk with Two-Way Audio=== |
Most of the AirSight IP camera models include an on-board microphone and speaker providing two-way audio communication. | Most of the AirSight IP camera models include an on-board microphone and speaker providing two-way audio communication. | ||
| Line 77: | Line 87: | ||
| − | ==Presets== | + | ===Presets=== |
Most of the AirSight IP camera models can pan and tilt and some have the ability to zoom. | Most of the AirSight IP camera models can pan and tilt and some have the ability to zoom. | ||
| Line 105: | Line 115: | ||
| − | ==Exit Live View== | + | ===Exit Live View=== |
To exit the Live View menu simply tap the BACK button to return to your camera list to view other cameras. | To exit the Live View menu simply tap the BACK button to return to your camera list to view other cameras. | ||
Revision as of 22:18, 5 February 2015
Here is a simple guide that will walk you through the features available in the AirSight App
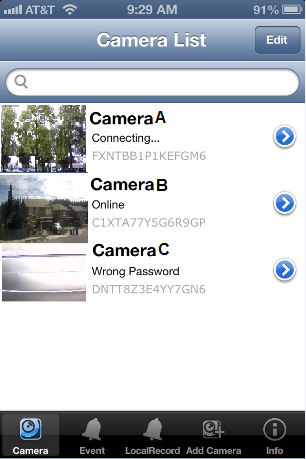
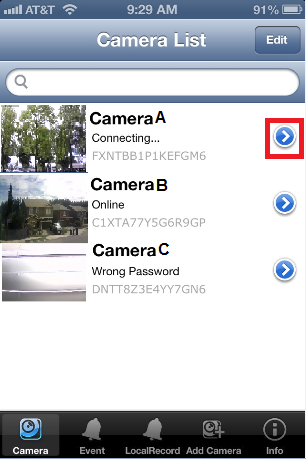
CAMERA Tab
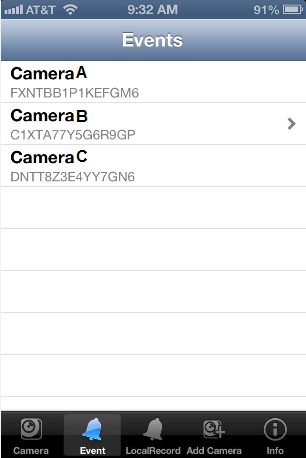
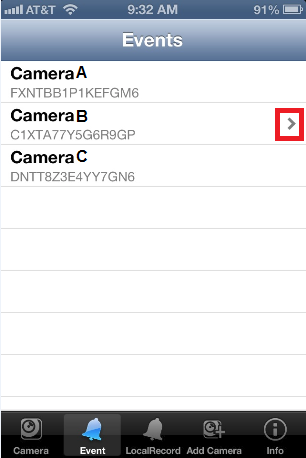
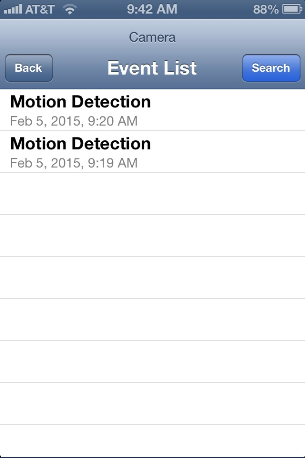
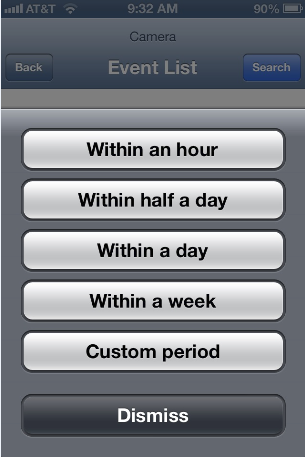
EVENT Tab
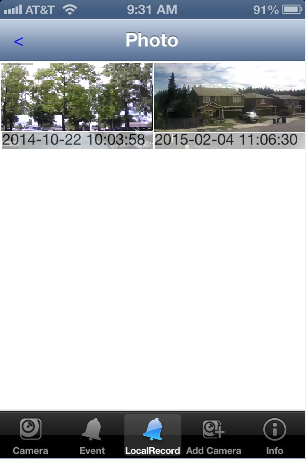
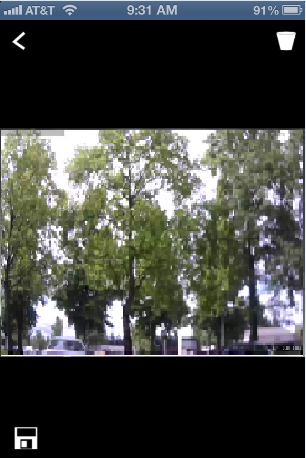
LOCALRECORD Tab
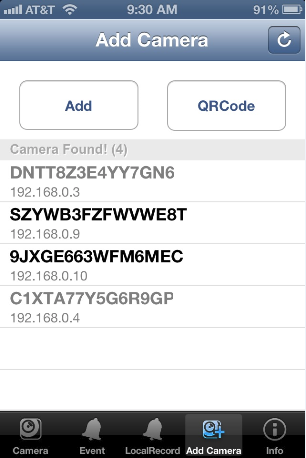
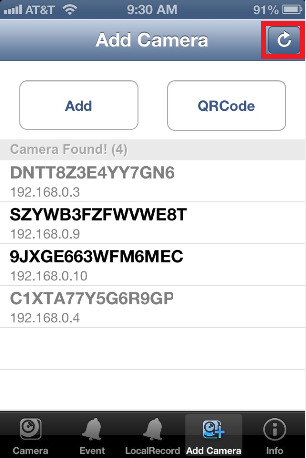
ADD CAMERA Tab
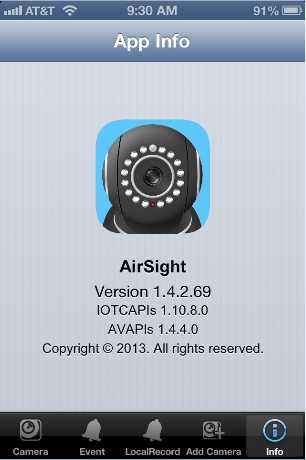
INFO Tab
Live View
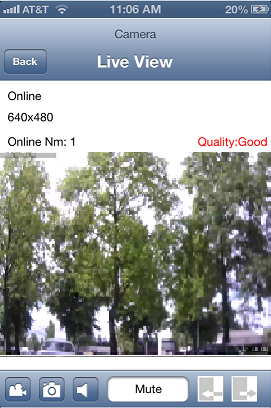
While your phone is in vertical orientation you can access all of the features available for your camera by clicking on the small icons located along the bottom of the screen:
- Record Video
- Take a Snapshot
- Listen and Talk with Two-Way Audio: (XX60A PTZ requires external mic and speaker -not included)
- Set Preset Position
- Call Preset Position
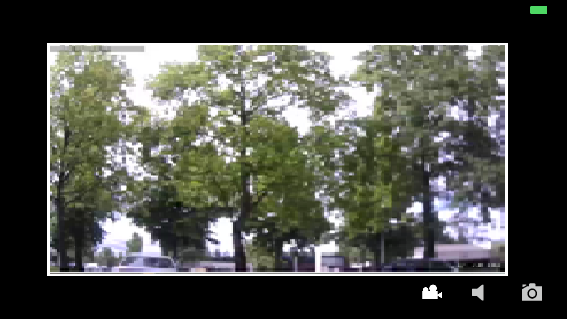
While the phone is in horizontal orientation you can access:
- Record Video
- Take a Snapshot
- Listen and Talk with Two-Way Audio: (XX60A PTZ requires external mic and speaker -not included)
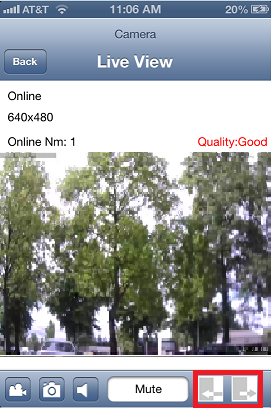
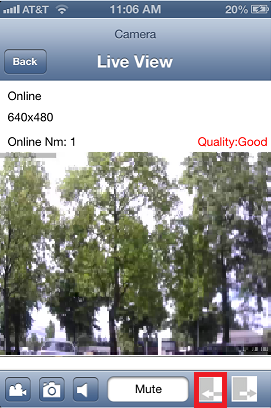
If your camera model has the ability to zoom - you will notice additional buttons added: ![]()
To zoom your camera in and out you can either pinch/spread the image with your fingers or use the
Record Video
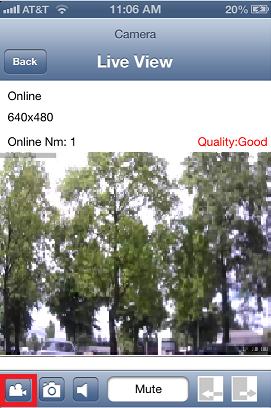
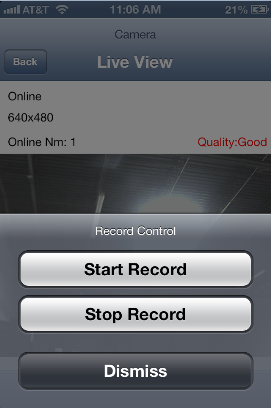
To record live video simply tap the video camera icon to access the RECORD CONTROL menu
From the RECORD CONTROL menu you can start and stop your recordings.
Snapshots
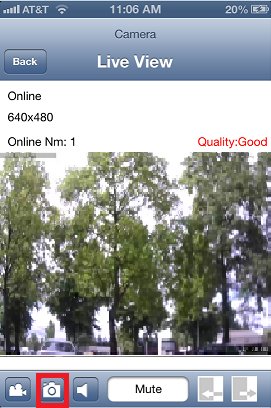
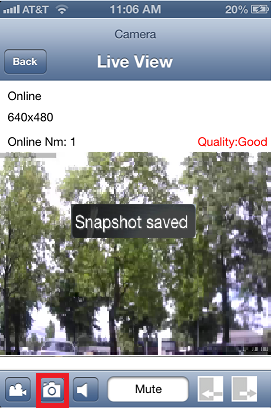
To take snapshots simply tap the camera icon
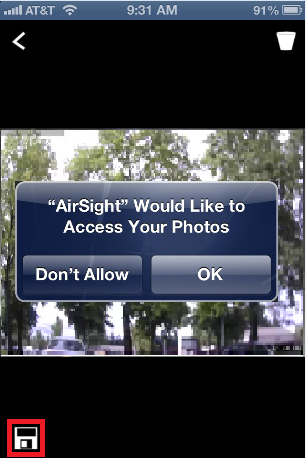
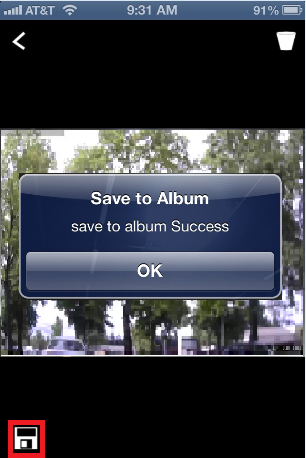
You will receive a message that a snapshot was successfully saved to your PHOTOS folder of your phone.
Listen and Talk with Two-Way Audio
Most of the AirSight IP camera models include an on-board microphone and speaker providing two-way audio communication.
For AirSight IP camera models that do not (XX60A PTZ) an external microphone and speaker are required to utilize this feature.
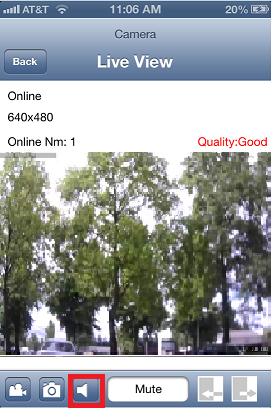
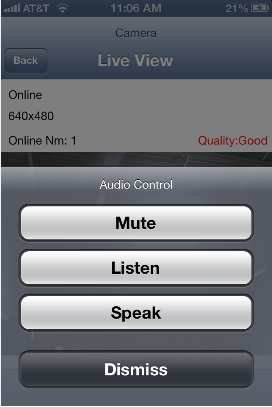
Simply tap the speaker icon to access the AUDIO CONTROL menu
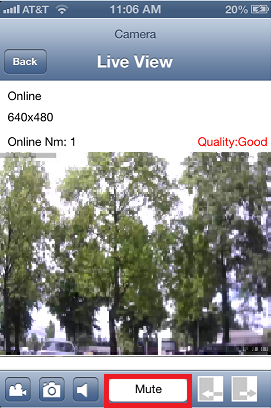
The audio status box will let you know what mode the camera is currently in: Mute, Listen, or Speak.
Presets
Most of the AirSight IP camera models can pan and tilt and some have the ability to zoom.
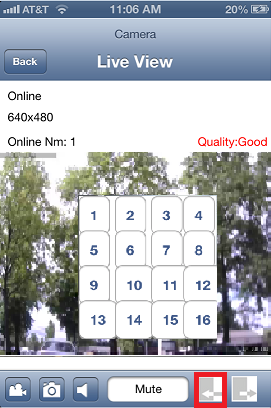
Use the preset feature to program up to 16 preset positions for your camera to quickly retrieve later.
To program a preset position, pan/tilt/zoom to the desired location and tap the PRESET SAVE icon
A numbered menu appears - tap a number to program that preset position
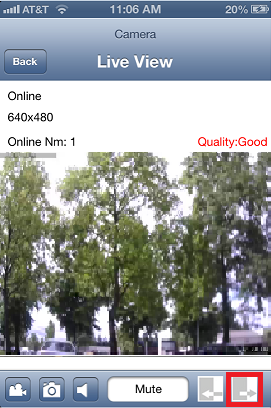
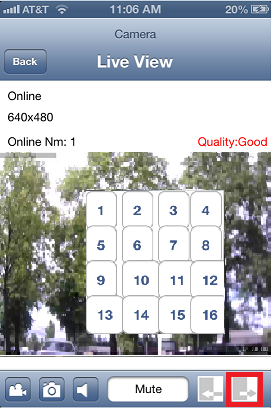
To call that preset position - tap the PRESET icon
A numbered menu appears - tap a number to call that preset position
Your camera will pan/tilt/zoom to the appointed position that you set.
Exit Live View
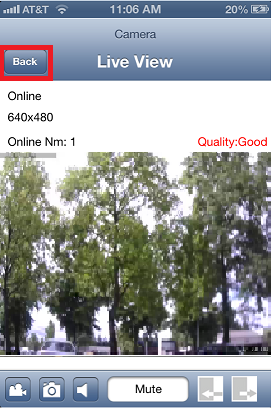
To exit the Live View menu simply tap the BACK button to return to your camera list to view other cameras.
- EDITCAMERAMENU
- ADVANCEDSETTINGSALL
- LOCALRECORDTAB
- QRSCANMENU
