Difference between revisions of "Accessing the AirPad from a PC"
Jump to navigation
Jump to search
(→Answer) |
|||
| Line 9: | Line 9: | ||
[[Image:Usb-mini-b-cable-black-6ft.jpg]] | [[Image:Usb-mini-b-cable-black-6ft.jpg]] | ||
| − | #Connect the cable to the PC and to the | + | #Connect the cable to the PC and to the AirPad. |
#Hold the AirPad in a horizontal orientation. You should see a USB symbol in the bar at the top of your AirPad's screen, on the left side: | #Hold the AirPad in a horizontal orientation. You should see a USB symbol in the bar at the top of your AirPad's screen, on the left side: | ||
#:http://www.clker.com/cliparts/2/3/9/8/1245687768855200443Soeb_USB_symbol.svg.med.png | #:http://www.clker.com/cliparts/2/3/9/8/1245687768855200443Soeb_USB_symbol.svg.med.png | ||
Revision as of 23:29, 23 August 2011
Question
How do I access my AirPad from my PC?
Answer
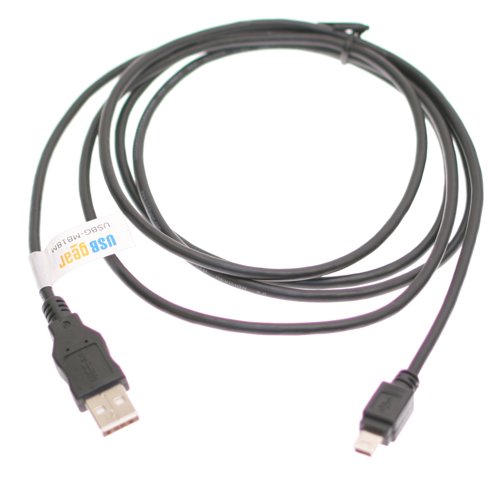
You will need a USB A to Mini-B cable to do this:
- Connect the cable to the PC and to the AirPad.
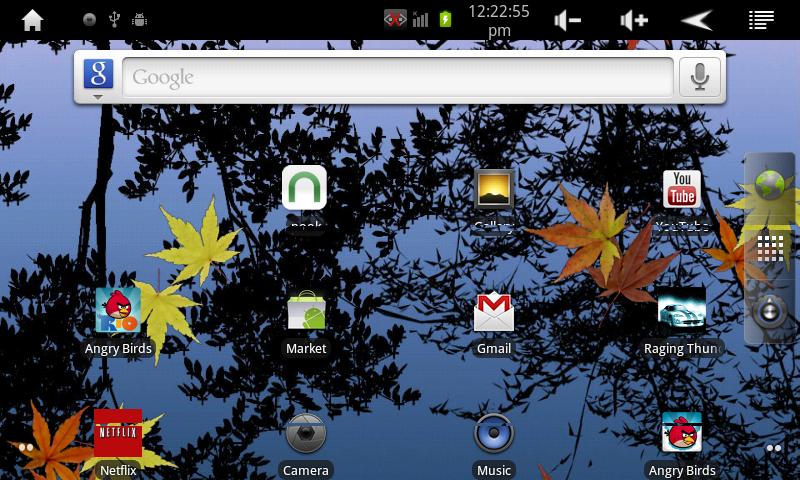
- Hold the AirPad in a horizontal orientation. You should see a USB symbol in the bar at the top of your AirPad's screen, on the left side:
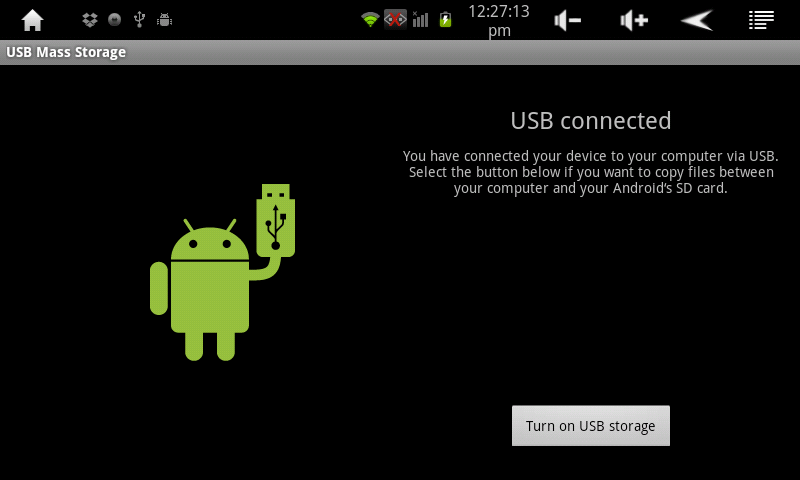
- Touch the USB symbol and drag it down to bring up the notification menu. Tap USB Connected.
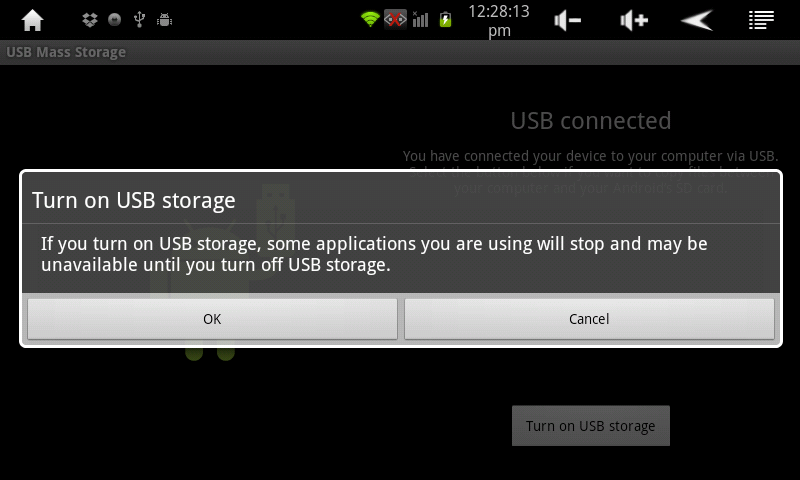
- In the window that appears, touch the Turn On USB storage button.
- Next, touch OK in the window that appears.
Your AirPad should now appear as two different Removable Storage Devices in My Computer- one for the main device memory, and one for the MicroSD card.
Once you are done transferring files, be sure to follow these steps:
- Click on the Safely Remove Hardware icon in the System Tray, next to the clock. Click on Safely Remove USB Mass Storage Device.
- On your AirPad, touch Turn off USB storage.


