Accessing the AirPadXL from a PC
Jump to navigation
Jump to search
Question
How do I access my AirPadXL from my PC?
Answer
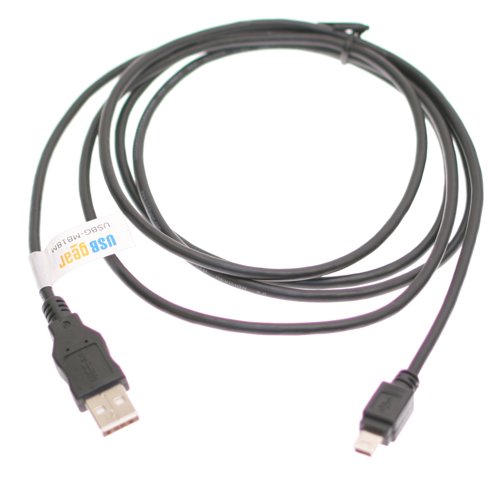
You will need a USB A to Mini-B cable to do this:
- Connect the cable to the PC and to the AirPad XL.
- Hold the AirPad in a horizontal orientation. You should see a USB symbol in the notification bar at the top of your AirPad's screen, on the left side:
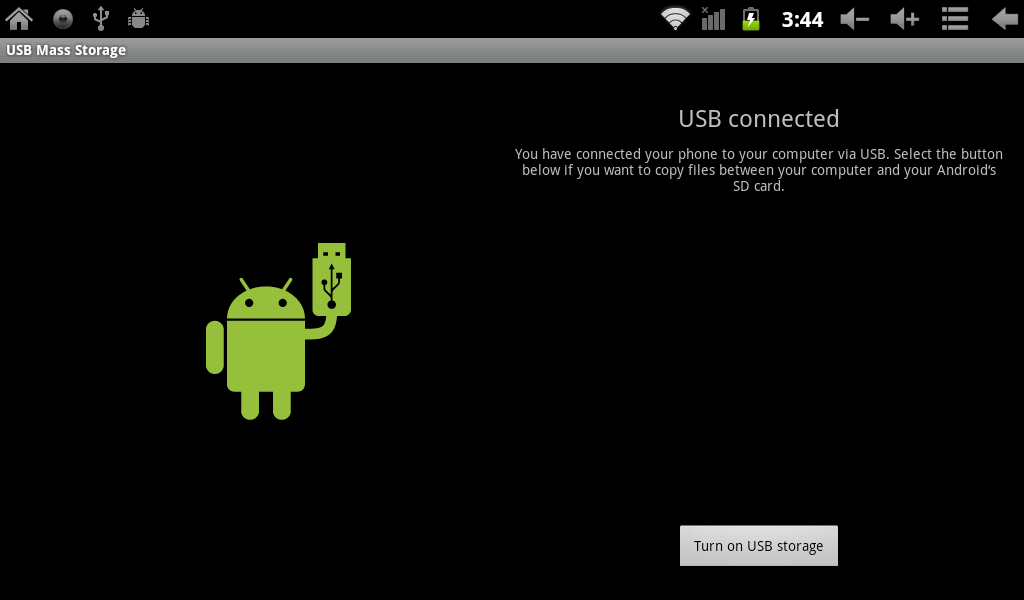
- Touch the USB symbol and drag it down to bring up the notification menu. Touch USB Connected.
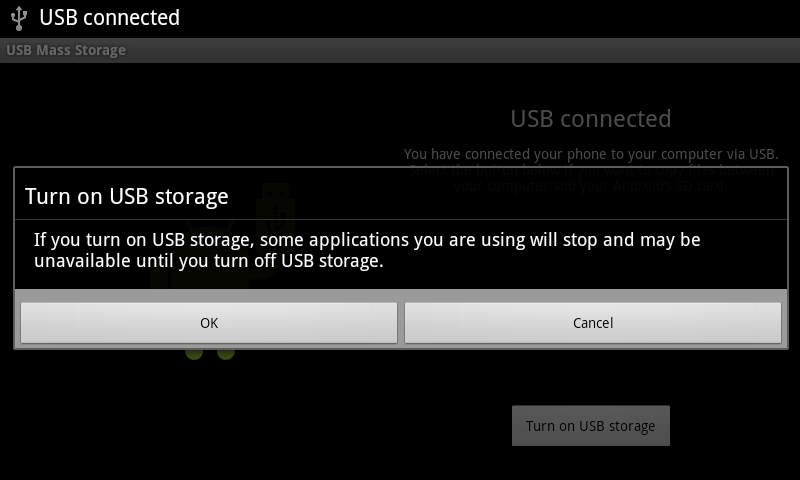
- In the window that appears, touch the Turn On USB storage button.
- Next, touch OK in the window that appears.
Your AirPad will now appear as two different Removable Storage Devices in “My Computer” - one for the main device memory, and one for the MicroSD (TF) card.
Transfer files like you would transfer from any drive to another. Once you are done transferring files, be sure to follow these steps:


