AirSight App Features
Here is a simple guide that will walk you through the features available in the AirSight App
Getting to know the AirSight app
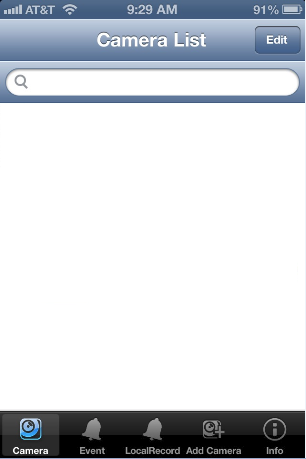
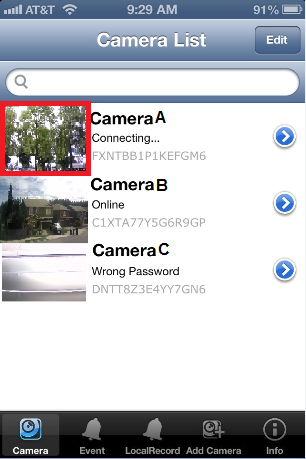
Upon running the app for the first time you will be presented with a blank CAMERA LIST
Use the icons along the bottom of the screen to navigate between the different tabs
CAMERA Tab
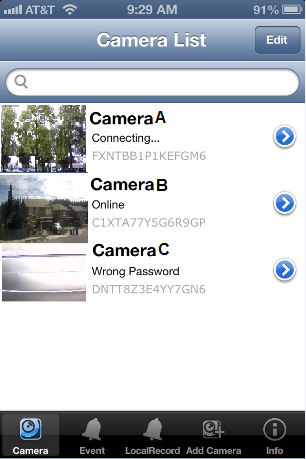
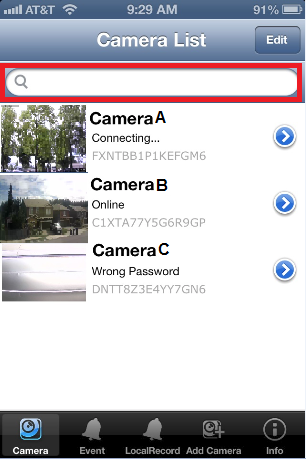
After you've added your cameras to the app - you will return to the ADD CAMERA tab to see your list of cameras as well as their status
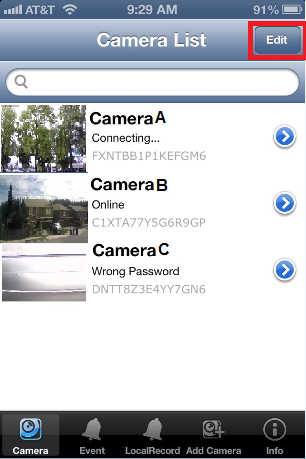
Use the EDIT button to delete cameras from your list
The SEARCH BAR can be used to quickly locate a specific camera in your list
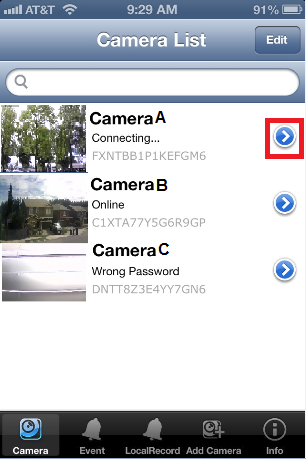
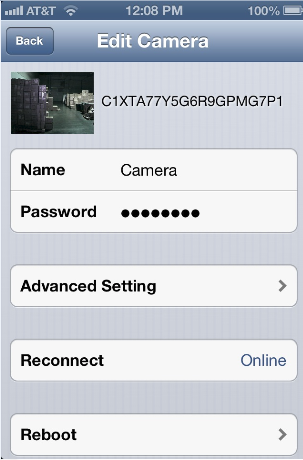
To edit the settings for the camera tap the SETTINGS ARROW to the right of the camera name to access the EDIT CAMERA MENU
From the EDIT CAMERA MENU you can:
- Rename the camera
- Access the ADVANCED SETTINGS MENU
- Reconnect the camera if it's gone off line.
- Reboot the camera
NOTE: The PASSWORD field, while editable, will NOT change the P2P password for your camera. (See the Security Code Menu section below).
Advanced Settings Menu
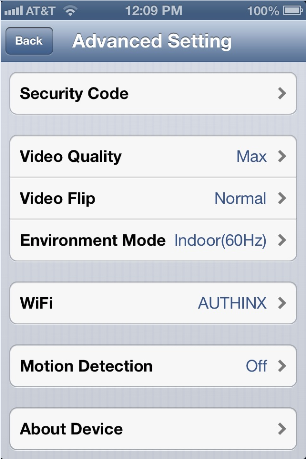
The ADVANCED SETTINGS menu shows the current setting for the camera.
To edit tap the RIGHT ARROW button to access that setting's menu options.
Security Code Menu
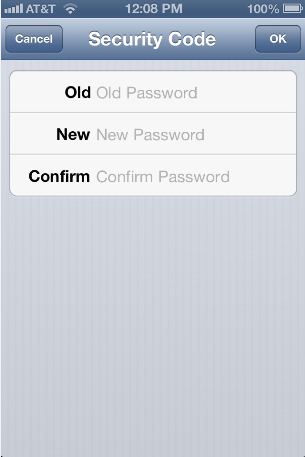
You can change the P2P password for your camera from the SECURITY CODE menu
- OLD: Type the password your want to change
- NEW: Type your newly chosen password
- CONFIRM: Re-Type your newly chosen password
- Tap OK to SAVE.
Video Quality Menu
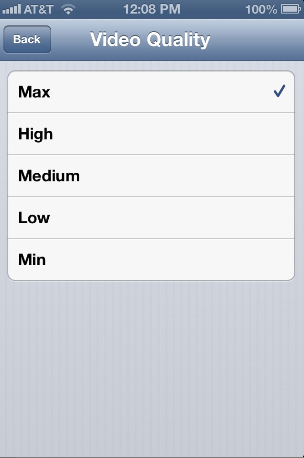
Use the VIDEO QUALITY menu to adjust the quality of the image
Video Flip Menu
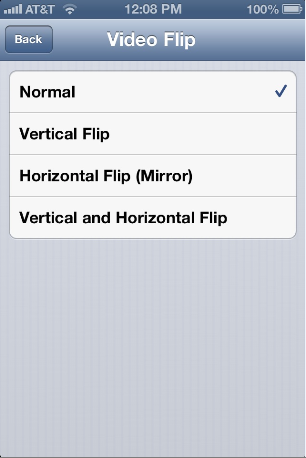
If the need to mount the camera in an abnormal position arises, use the VIDEO FLIP menu to change the orientation of the image:
- NORMAL: Default orientation
- VERTICAL FLIP: For mounting camera upside down.
- HORIZONTAL FLIP: Mirror Image orientation
- VERTICAL AND HORIZONTAL FLIP: Both
Environmental Mode Menu
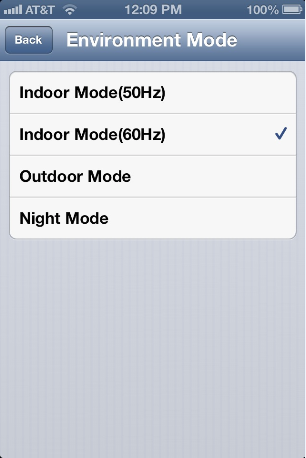
Use ENVIRONMENT MODE menu to select the appropriate mode for the cameras viewing environment:
- INDOOR MODE: Used for normal indoor environments (50-60Hz)
Power line frequency or mains frequency is the frequency of the oscillations of alternating current (AC) in an electric power grid transmitted from a power plant to the end-user. In large parts of the world this is 50 Hz, although here in America, and some parts of Asia it is typically 60 Hz. AirSight IP cameras have multi-voltage (100-240VAC, 50-60Hz) power supplies for use in both environments - the Light Frequency is simply to communicate to the software which one is in use - however it is unlikely that changing from 50Hz to 60Hz will provide a noticeable difference.
- OUTDOOR MODE: Used for cameras mounted outdoors or facing out windows
NOTE: Facing a camera out a window renders them useless for night time viewing due to the reflection of the IR LEDs.
- NIGHT MODE: Select this mode if Night Vision is the sole operating environment
The AirSight IP cameras will switch to Night Vision in all environmental modes when a change in light is detected. NIGHT MODE should only be chosen if the camera will not be utilized in daylight environments.
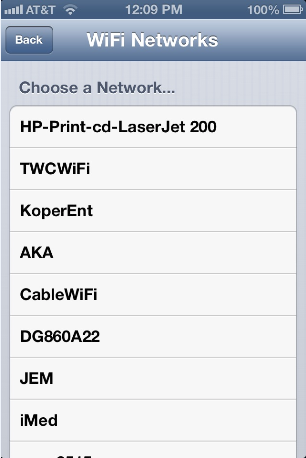
WiFi Menu
Use the WIFI menu to program the camera to your wireless network
Locate your wireless network from the list of available networks
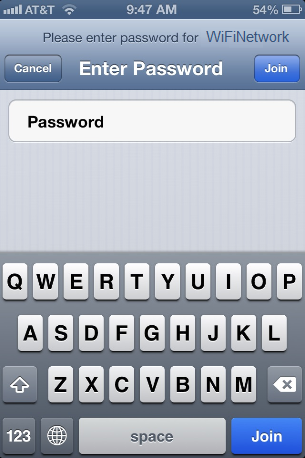
Tap your network name in the CHOOSE A NETWORK list to access the JOIN NETWORK menu
Type in your WiFi password (case sensitive) and tap JOIN
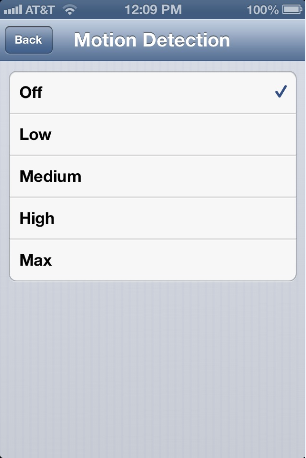
Motion Detection Menu
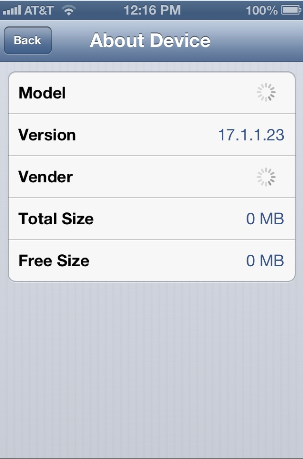
About Device Menu
Live View
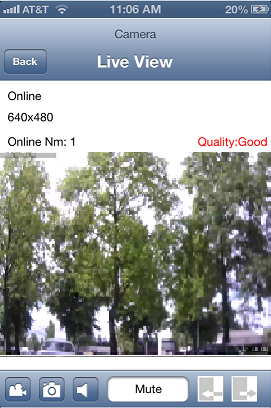
To view live video tap the image of your camera on the CAMERA tab to access the LIVE VIEW menu
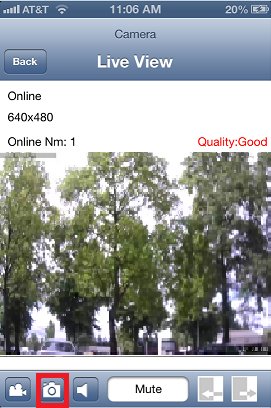
While your phone is in vertical orientation you can access all of the features available for your camera by clicking on the small icons located along the bottom of the screen:
- Record Video
- Take a Snapshot
- Listen and Talk with Two-Way Audio: (XX60A PTZ requires external mic and speaker -not included)
- Set Preset Position
- Call Preset Position
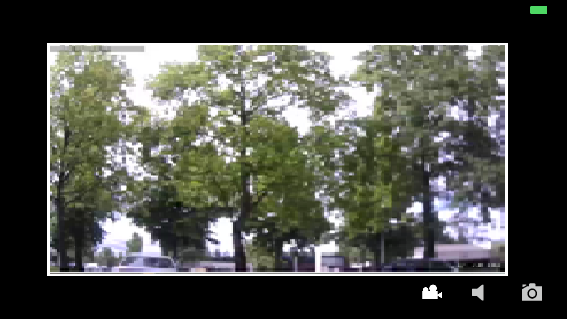
While the phone is in horizontal orientation you can access:
- Record Video
- Take a Snapshot
- Listen and Talk with Two-Way Audio: (XX60A PTZ requires external mic and speaker -not included)
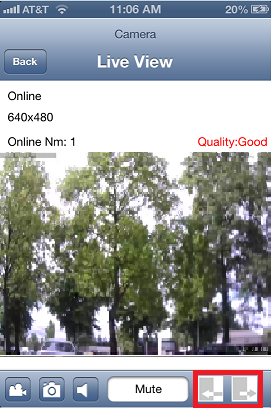
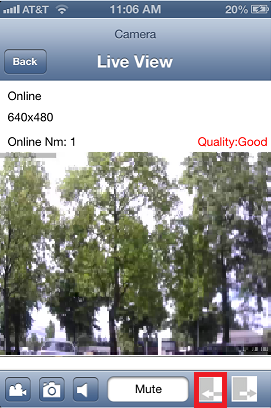
If your camera model has the ability to zoom - you will notice additional buttons added: ![]()
To zoom your camera in and out you can either pinch/spread the image with your fingers or use the
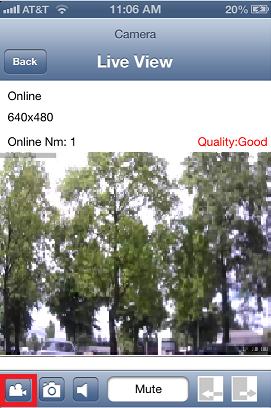
Record Video
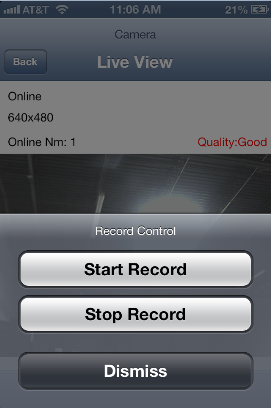
To record live video simply tap the video camera icon to access the RECORD CONTROL menu
From the RECORD CONTROL menu you can start and stop your recordings.
Snapshots
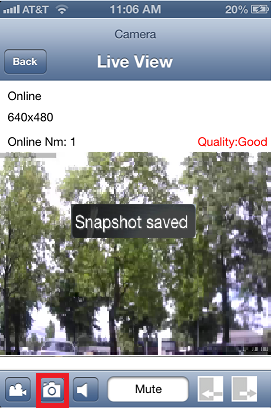
To take snapshots simply tap the camera icon
You will receive a message that a snapshot was successfully saved to your PHOTOS folder of your phone.
Listen and Talk with Two-Way Audio
Most of the AirSight IP camera models include an on-board microphone and speaker providing two-way audio communication.
For AirSight IP camera models that do not (XX60A PTZ) an external microphone and speaker are required to utilize this feature.
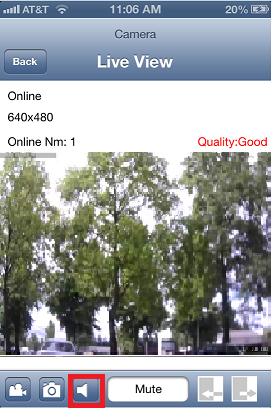
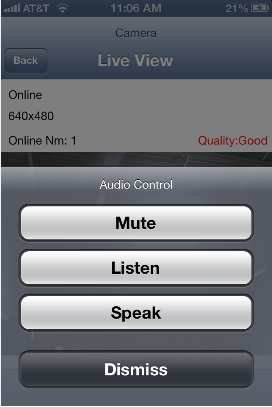
Simply tap the speaker icon to access the AUDIO CONTROL menu
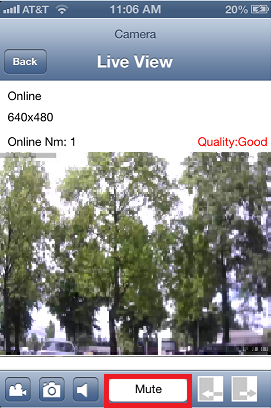
The audio status box will let you know what mode the camera is currently in: Mute, Listen, or Speak.
Presets
Most of the AirSight IP camera models can pan and tilt and some even have the ability to zoom.
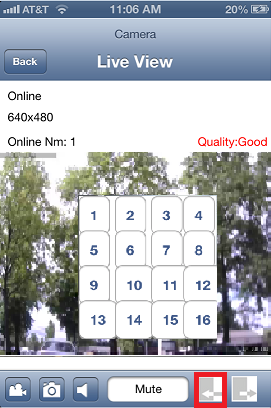
Use the preset feature to program up to 16 preset positions for your camera to quickly retrieve later.
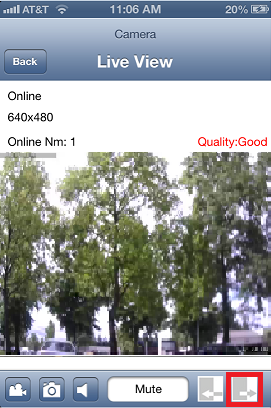
To program a preset position, pan/tilt/zoom to the desired location and tap the PRESET SAVE icon
A numbered menu appears - tap a number to program that preset position
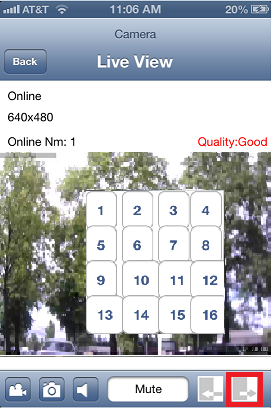
To call that preset position - tap the PRESET icon
A numbered menu appears - tap a number to call that preset position
Your camera will pan/tilt/zoom to the appointed position that you set.
Exit Live View
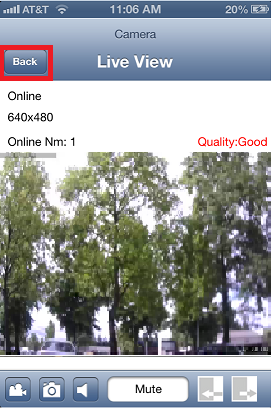
To exit the Live View menu simply tap the BACK button to return to your camera list to view other cameras.
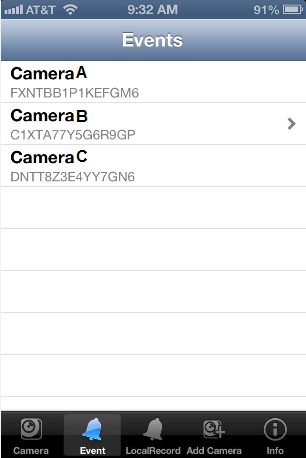
EVENT Tab
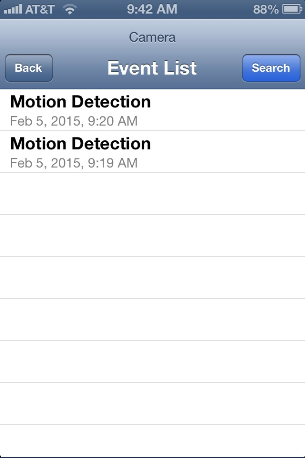
If MOTION DETECTION has been turned on in the ADVANCED SETTING MENU the app keeps record of each event in the EVENTS tab
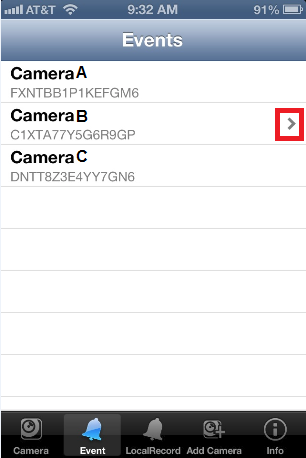
To access the list of events for each camera tap the ARROW to the right of the camera name to access it's EVENT LIST
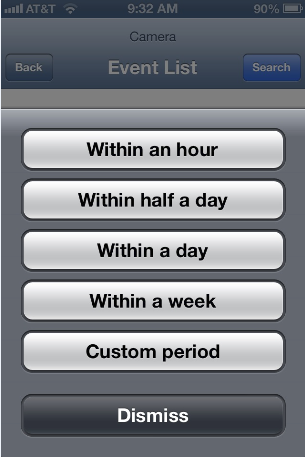
Use the SEARCH button to quickly navigate to a specific event based on when the event occurred
- Note: Events cannot be deleted from the app - the only way to remove them from your phone is to delete the app.
LOCALRECORD Tab
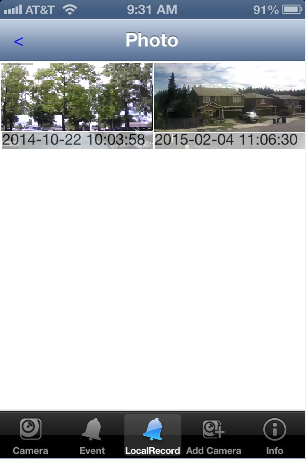
Use the LOCALRECORD tab to access your VIDEO and SNAPSHOTS
- LOCALRECORDTAB
Use the VIDEO and SNAPSHOT tabs at the top of the screen to navigate between them
Tap the ARROW to the right of the camera's name to access the PHOTO or VIDEO menu
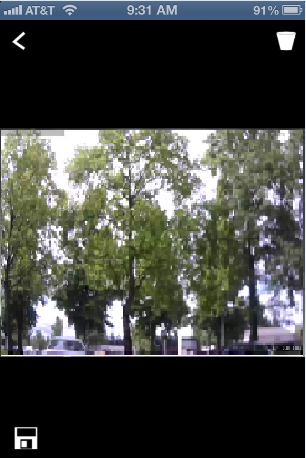
Tap the PHOTO or VIDEO to view
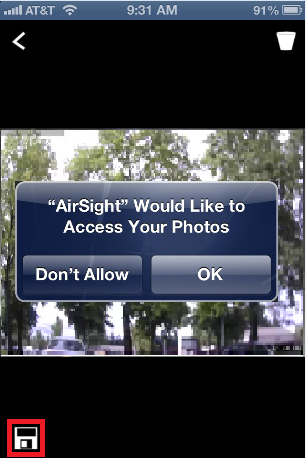
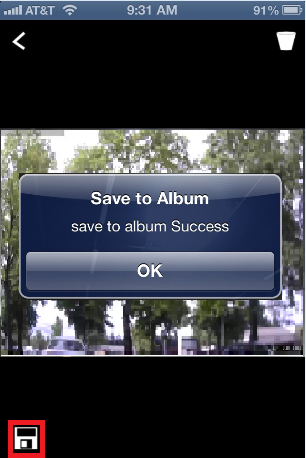
Use the DELETE and SAVE icons to discard or save to your PHOTOS folder on your phone.
If this is the first time saving PHOTOS or VIDEO tap OK when prompted
The app will notify you the image was saved successfully - tap OK to return to your list of photos or videos
ADD CAMERA Tab
Additional information on how to use these menus can be found here:
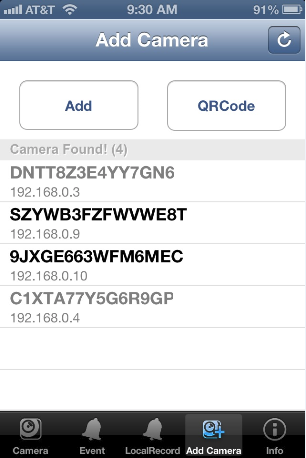
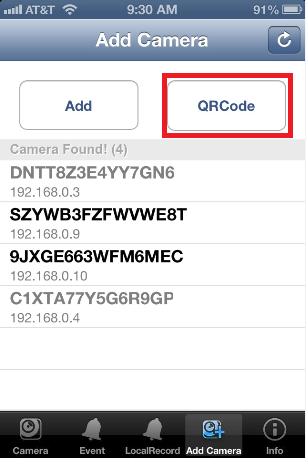
The ADD CAMERA menu lists all of the IP cameras found connected to the local network
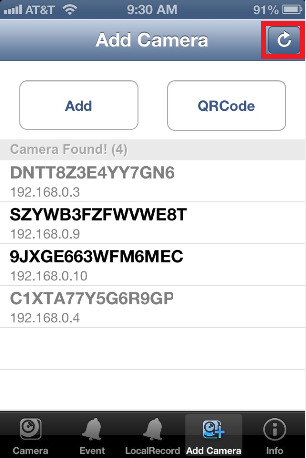
Use the REFRESH button to refresh the list of cameras in "Camera Found! (0)" list if your camera doesn't automatically show up
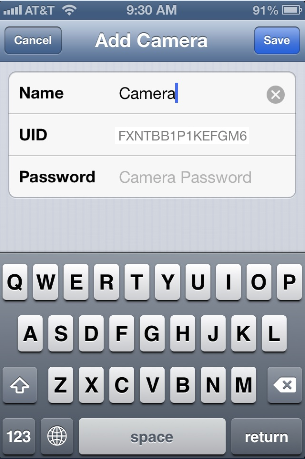
Tap your camera in the "Camera Found! (0)" list to access the ADD CAMERA menu
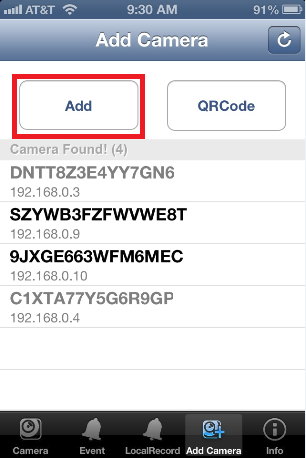
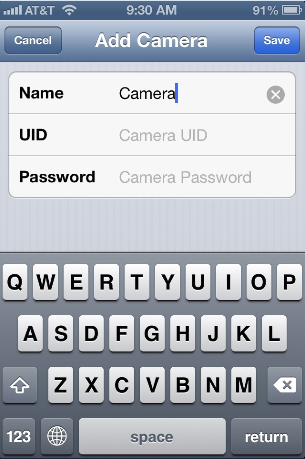
If you are not at the physical location of the camera you can manually add it by tapping the ADD button to enter in the camera's credentials
You can also add your camera by scanning the QR code sticker on the label
- Note: If you have trouble viewing the camera after using this method we recommend deleting the camera from the app and re-installing using the steps found HERE
- QRSCANMENU
INFO Tab
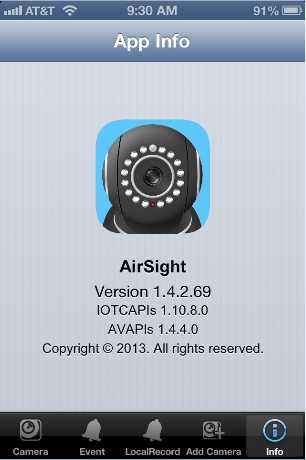
Your current version of the app can be found on the APP INFO menu of the INFO tab
