NEW AirSight App Features
Here is a simple guide that will walk you through the features available in the AirSight App
GETTING TO KNOW THE X10 AIRSIGHT APP
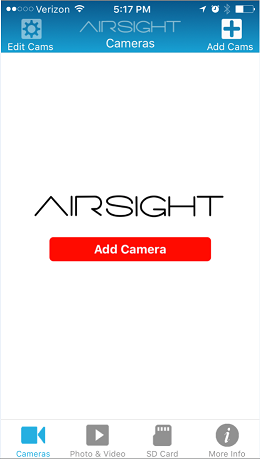
Upon running the app for the first time you will be presented with the ADD CAMERA page
Use the icons along the bottom of the screen to navigate between the different tabs
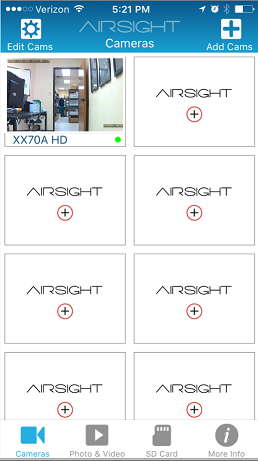
Subsequent visits will bring you directly to the CAMERAS tab
CAMERA Tab
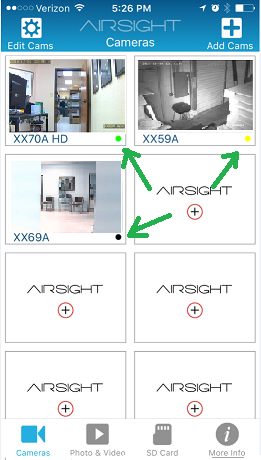
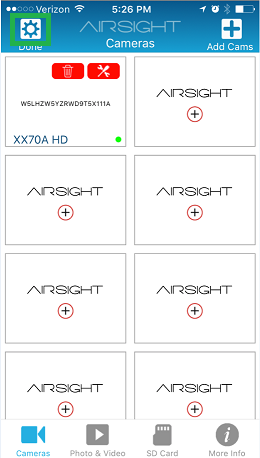
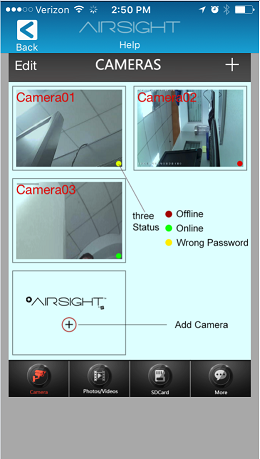
After you've added your cameras to the app - the ADD CAMERA tab will show your list of cameras as well as their status
- GREEN = Online
- YELLOW = Incorrect Password
- BLACK = Offline
Use the EDIT CAMS button to delete cameras from your list or access their settings menu
LIVE VIEW
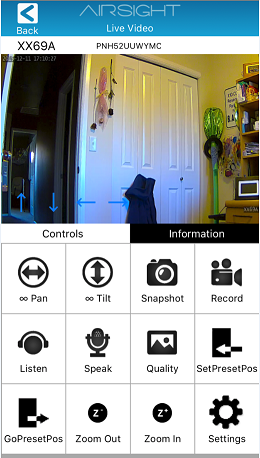
To view live video tap the image of your camera on the CAMERA tab to access the LIVE VIEW menu
If your camera model has the ability to pan and tilt, use the blue arrows located on the live image to PAN/TILT your camera
While the phone is in horizontal orientation you can swap between the CONTROLS and INFORMATION tabs
Controls Tab
The CONTROLS tab offers the following controls:
- Continuous Pan: Use this button to tell your camera to continuously pan left and right - tap again to stop.
- Continuous Til: Use this button to tell your camera to continuously tilt up and down - tap again to stop.
- Take a Snapshot: Snapshots will be saved in the PHOTOS & VIDEO tab
- Record Live Video: Videos will be saved in the PHOTOS & VIDEO tab
- Listen and Talk with Two-Way Audio: (XX60A and XX70A PTZ cameras require external microphones and speakers -not included)
- Adjust the Quality of the Video
- Set Preset Positions: Use this button to program in up to 8 preset positions for your camera.
- Go To Preset Positions: Use this button to tell your camera to go to one of the 8 preset positions you programmed.
- Zoom In and Zoom Out: If your camera model has the ability to zoom you can do so from these buttons
- Access the Camera's Settings
Information Tab
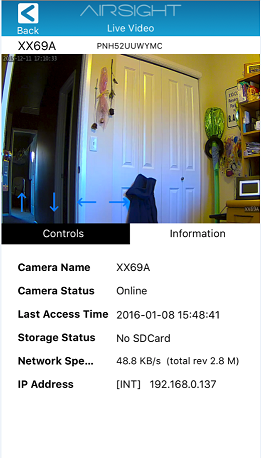
The INFORMATION tab offers the following information:
- Camera Name: Displays the name designated for the camera
- Camera Status: Displays the current status of the camera
- Last Access Time: Displays the date and time the camera was last access via the app.
- Storage Status: Displays the current status of the SDCard
- Network Spped: Displays the network speed of the camera.
- IP Address: If the mobile devices is on the same internal network as the camera, the internal IP [INT] will be displayed here. Otherwise the external [EXT] IP of the camera will be listed
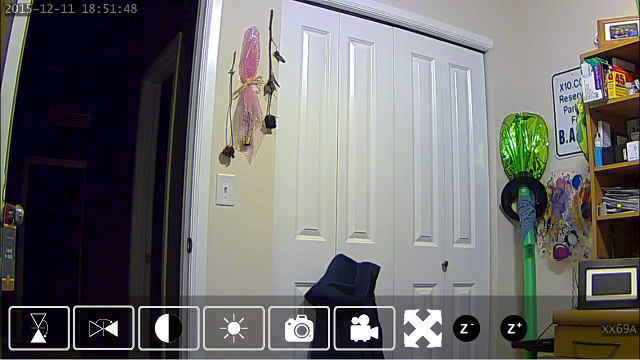
While your phone is in vertical orientation you can access the following features by clicking on the appropriate icon located along the bottom of the screen:
- Reverse: Reverses the image should you need to mount the camera upside down
- Mirror: Reverses to a mirrored image of the live view of the camera
- Contrast: Adjusts the contrast of the image
- Brightness: Adjusts the brightness of the image
- Take a Snapshot: Snapshots will be saved in the PHOTOS & VIDEO tab
- Record Live Video: Videos will be saved in the PHOTOS & VIDEO tab
- Full Screen: Hides the control icons
- Zoom In and Zoom Out: If your camera model has the ability to zoom you can do so from these buttons
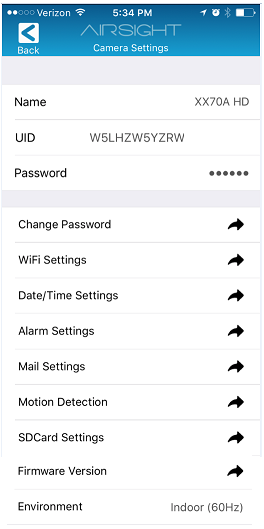
CAMERA SETTINGS
From the camera's SETTINGS menu you can:
- Change the Camera's Password
- Access the WiFi Settings
- Adjust the Date/Time Settings
- Access the Alarm Settings
- Update Email Settings
- Access the Motion Detection Settings
- Adjust the SDCard settings
- Check the Camera's Firmware Version
- Set the Environment
NOTE: The PASSWORD field, while editable, will NOT change the P2P password for your camera. (See the Change Password Menu section below).
Change Password Menu
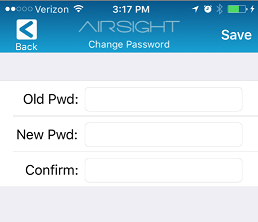
You can change the P2P password for your camera from the CHANGE PASSWORD menu
- OLD PWD: Type the password your want to change
- NEW PWD: Type your newly chosen password
- CONFIRM: Re-Type your newly chosen password
- Tap SAVE
WiFi Menu
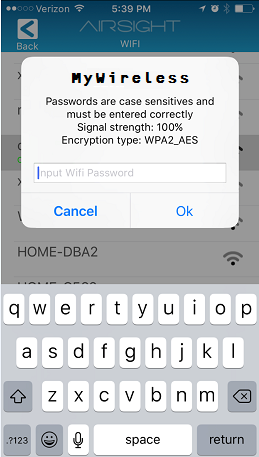
Use the WIFI menu to set a different wireless network
- Locate your wireless network from the list of available networks
- Type in your WiFi password (case sensitive) and tap OK
Date/Time Settings Menu
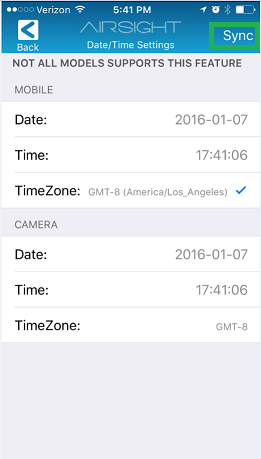
Use the DATE/TIME SETTINGS menu to sync the camera's date and time with your smartphone or tablet
Please note that this feature is not supported on all models - the camera must be an XX69A, XX70A or newer to utilize this feature
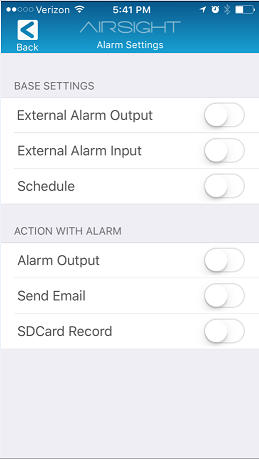
Alarm Settings Menu
If you have an external siren or output switch connected to the IO pins on the back of the camera you can access the settings for the inputs from the ALARM SETTINGS menu
More information regarding the I/O Pins can be found here.
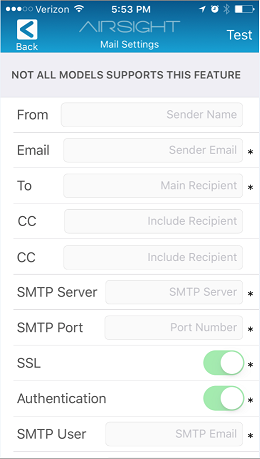
Mail Settings Menu
Use the MAIL SETTINGS menu to enter the credentials for the email address you would like the camera to use to send notifications via email
Please note that this feature is not supported on all models - the camera must be an XX69A, XX70A or newer to utilize this feature
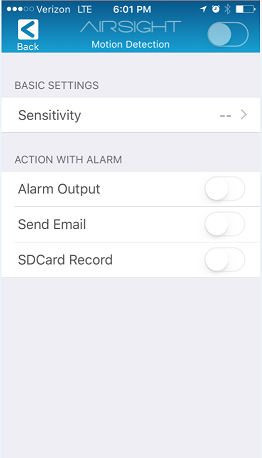
Motion Detection Menu
Use the MOTION DETECTION menu to turn motion detection ON/OFF, adjust the sensitivity of the detection, and set the required action when a motion event is triggered
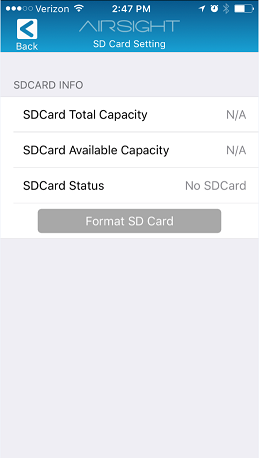
SDCard Settings Menu
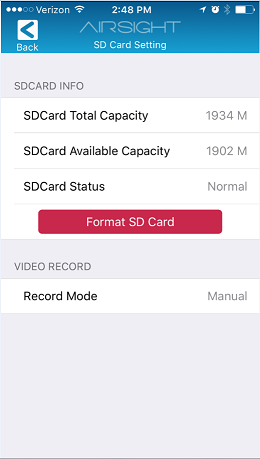
If your camera model includes an on board SDCard slot, you can check the available capacity of the SDCard, format the SDCard, and set the recording frequency to the SDCard from the SDCARD SETTINGS menu
Firmware Version Menu
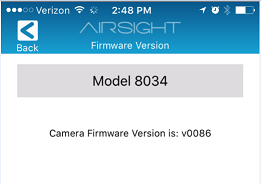
The FIRMWARE VERSION menu displays your camera's current firmware version
Environmental Mode Menu
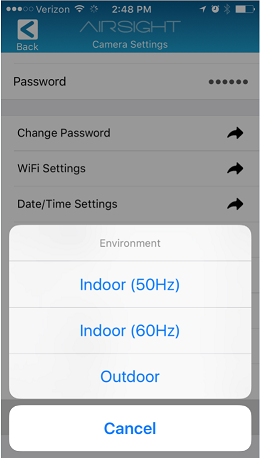
Use the ENVIRONMENT MODE menu to select the appropriate mode for the cameras viewing environment:
- INDOOR MODE: Used for normal indoor environments (50-60Hz)
Power line frequency or mains frequency is the frequency of the oscillations of alternating current (AC) in an electric power grid transmitted from a power plant to the end-user. In large parts of the world this is 50 Hz, although here in America, and some parts of Asia it is typically 60 Hz. AirSight IP cameras have multi-voltage (100-240VAC, 50-60Hz) power supplies for use in both environments - the Light Frequency is simply to communicate to the software which one is in use - however it is unlikely that changing from 50Hz to 60Hz will provide a noticeable difference.
- OUTDOOR MODE: Used for cameras mounted outdoors or facing out windows
NOTE: Facing a camera out a window renders them useless for night time viewing due to the reflection of the IR LEDs.
PHOTOS & VIDEO Tab
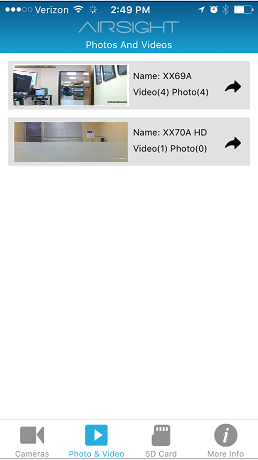
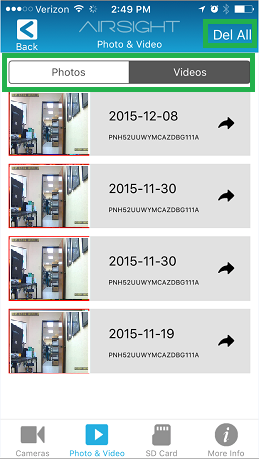
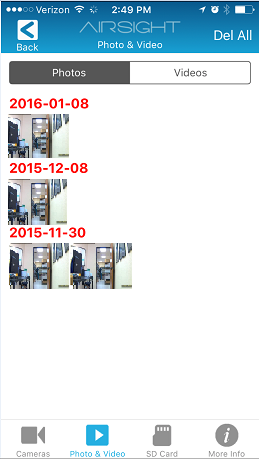
Use the LOCALRECORD tab to access your VIDEO and SNAPSHOTS
Use the VIDEO and SNAPSHOT tabs at the top of the screen to navigate between them
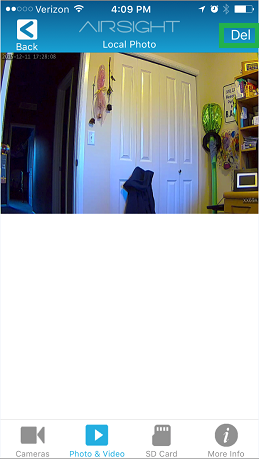
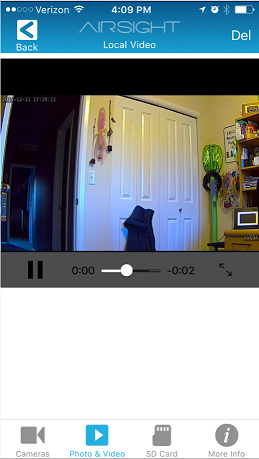
Tap the PHOTO or VIDEO to view
Use the DEL button to discard an individual PHOTO/VIDEO or DEL ALL to discard all PHOTO/VIDEOS in the menu.
SD CARD Tab
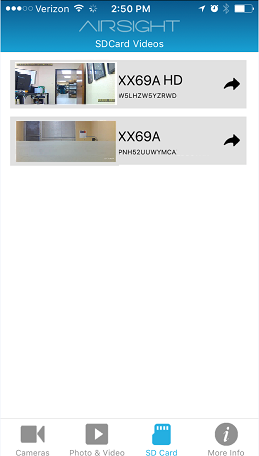
If your camera model includes an on board SDCard slot, you can access the snapshots and videos stored on the SDCard from the SDCARD tab
MORE INFO Tab
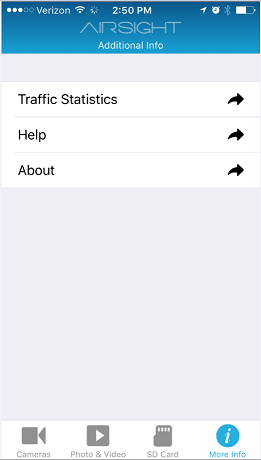
Use the MORE INFO tab to access the TRAFFIC STATISTICS, HELP, and ABOUT menus
TRAFFIC STATISTIC
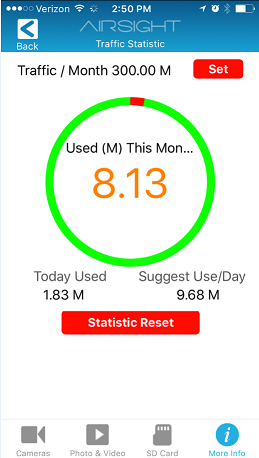
From the TRAFFIC STATISTICS page you can program the allotted usage for your camera per month
HELP
The HELP page offers a visual image of the options in the app
ABOUT
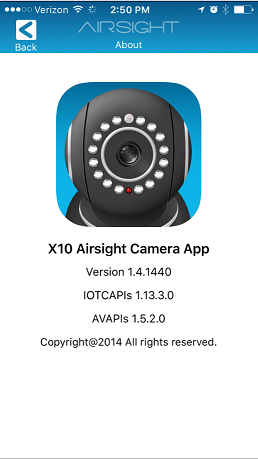
The ABOUT page displays the current version of the app
